Check the attributes and corresponding mappings
On This Page
When you add a SCIM template integration to your development org, it comes with base attributes set by default. The user schema in your SCIM application might not support all of these attributes. It is important that you go through the steps below to ensure that the integration you're submitting to Okta for review reflects the attributes supported by your application.
Note: Confirm your attributes and mappings before you submit your integration for review, or your submission will be returned by the Okta OIN team with a request to update your attributes.
Delete attributes
Before you can delete an attribute, you first need to remove the mapping for that attribute.
A. Remove the mapping
From the Admin Console, open your SCIM integration.
Go to the Provisioning tab. Under the SETTINGS section, click To App.
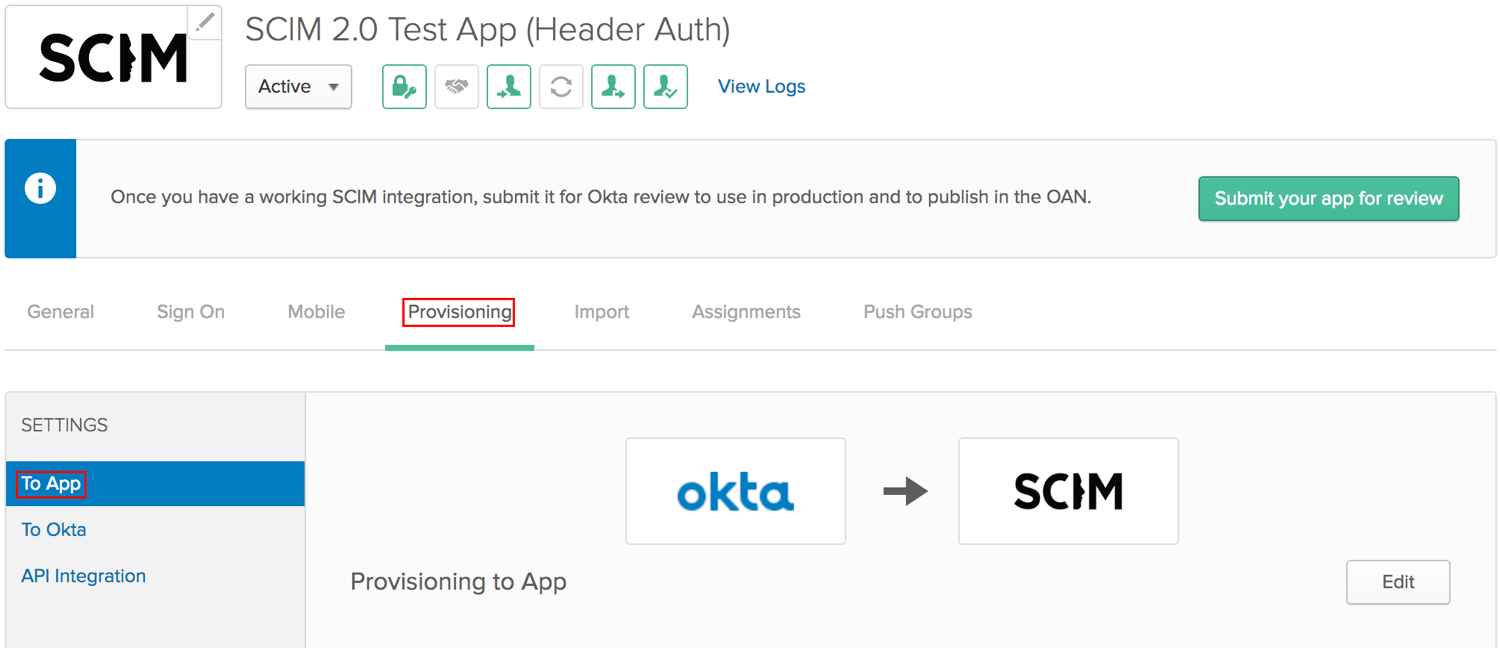
Scroll to the Attribute Mappings section. Look for the attribute that you want to delete and then click X.
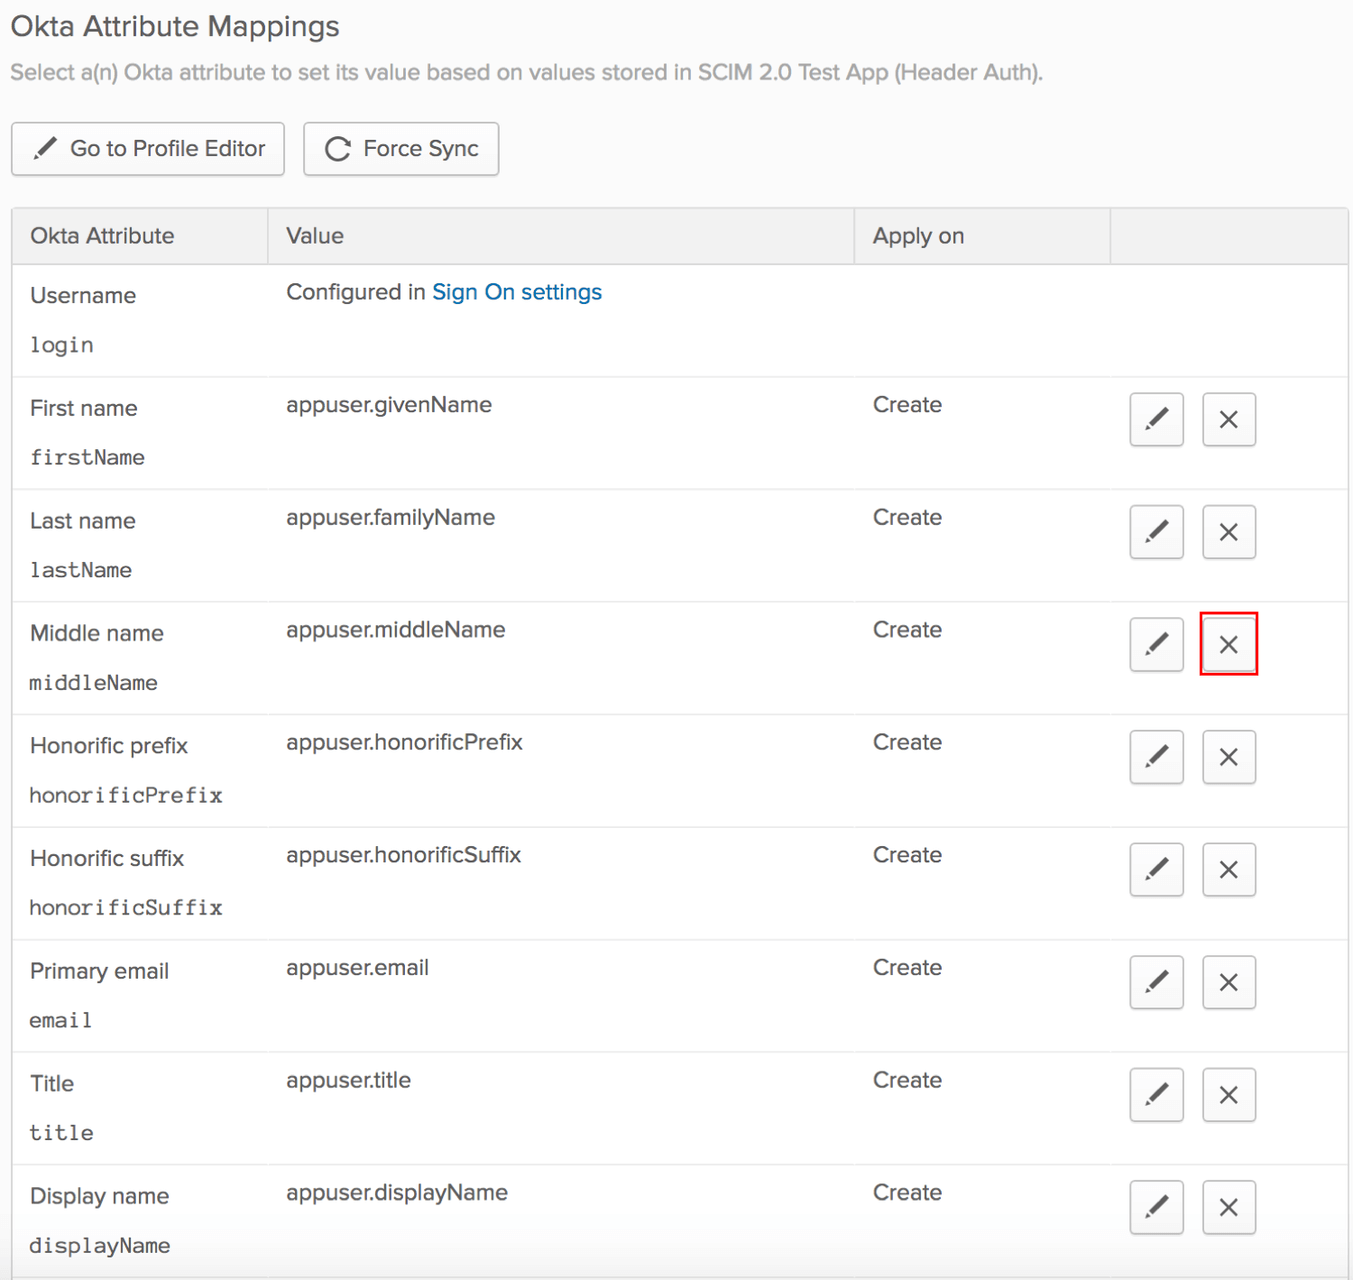
Click OK to confirm that you want to remove the mapping for the attribute you selected.
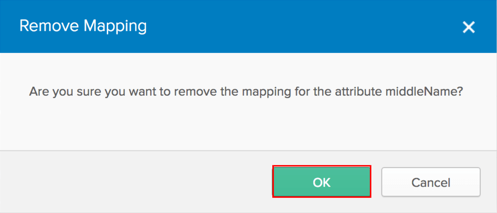
After removing the mapping for the unwanted attributes, click To Okta under the settings section.
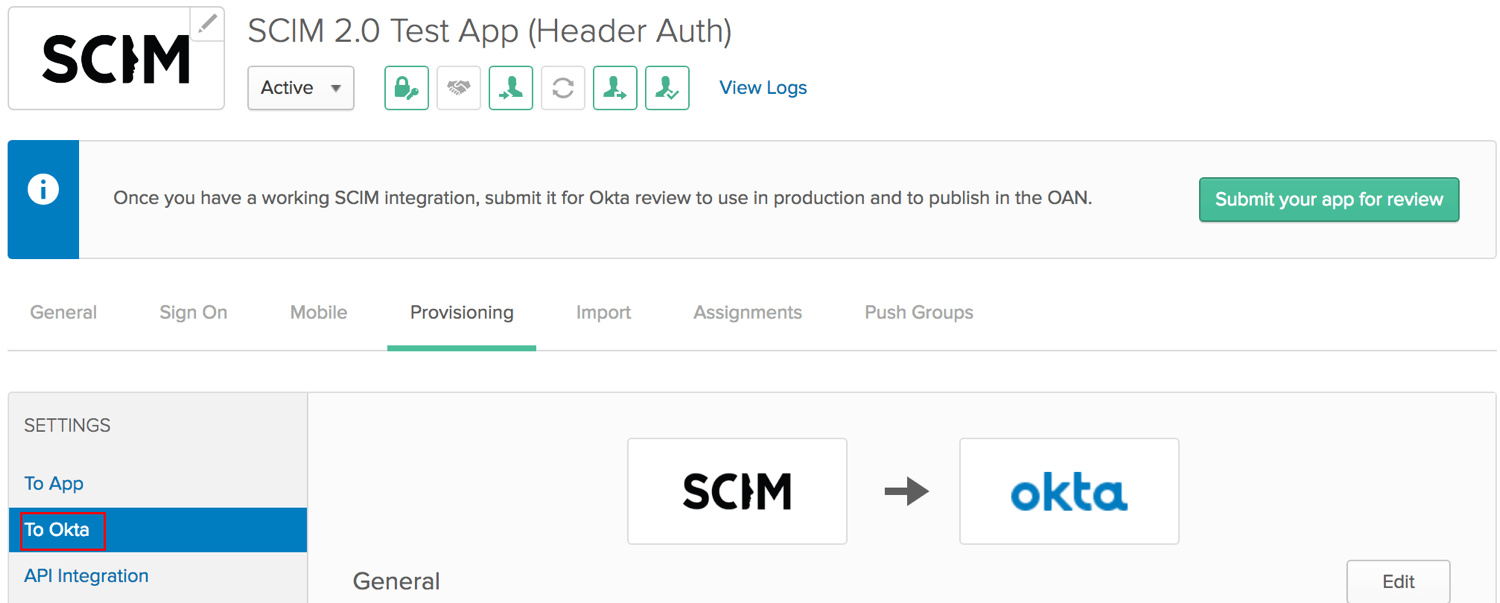
Repeat Step 3 and 4 until you remove all the mappings for the attributes you want to delete.
B. Delete attributes from your attribute list
After removing all the mappings for the attribute you want to delete, Click To App.

Scroll to the Attribute Mappings section. Click Go to Profile Editor.
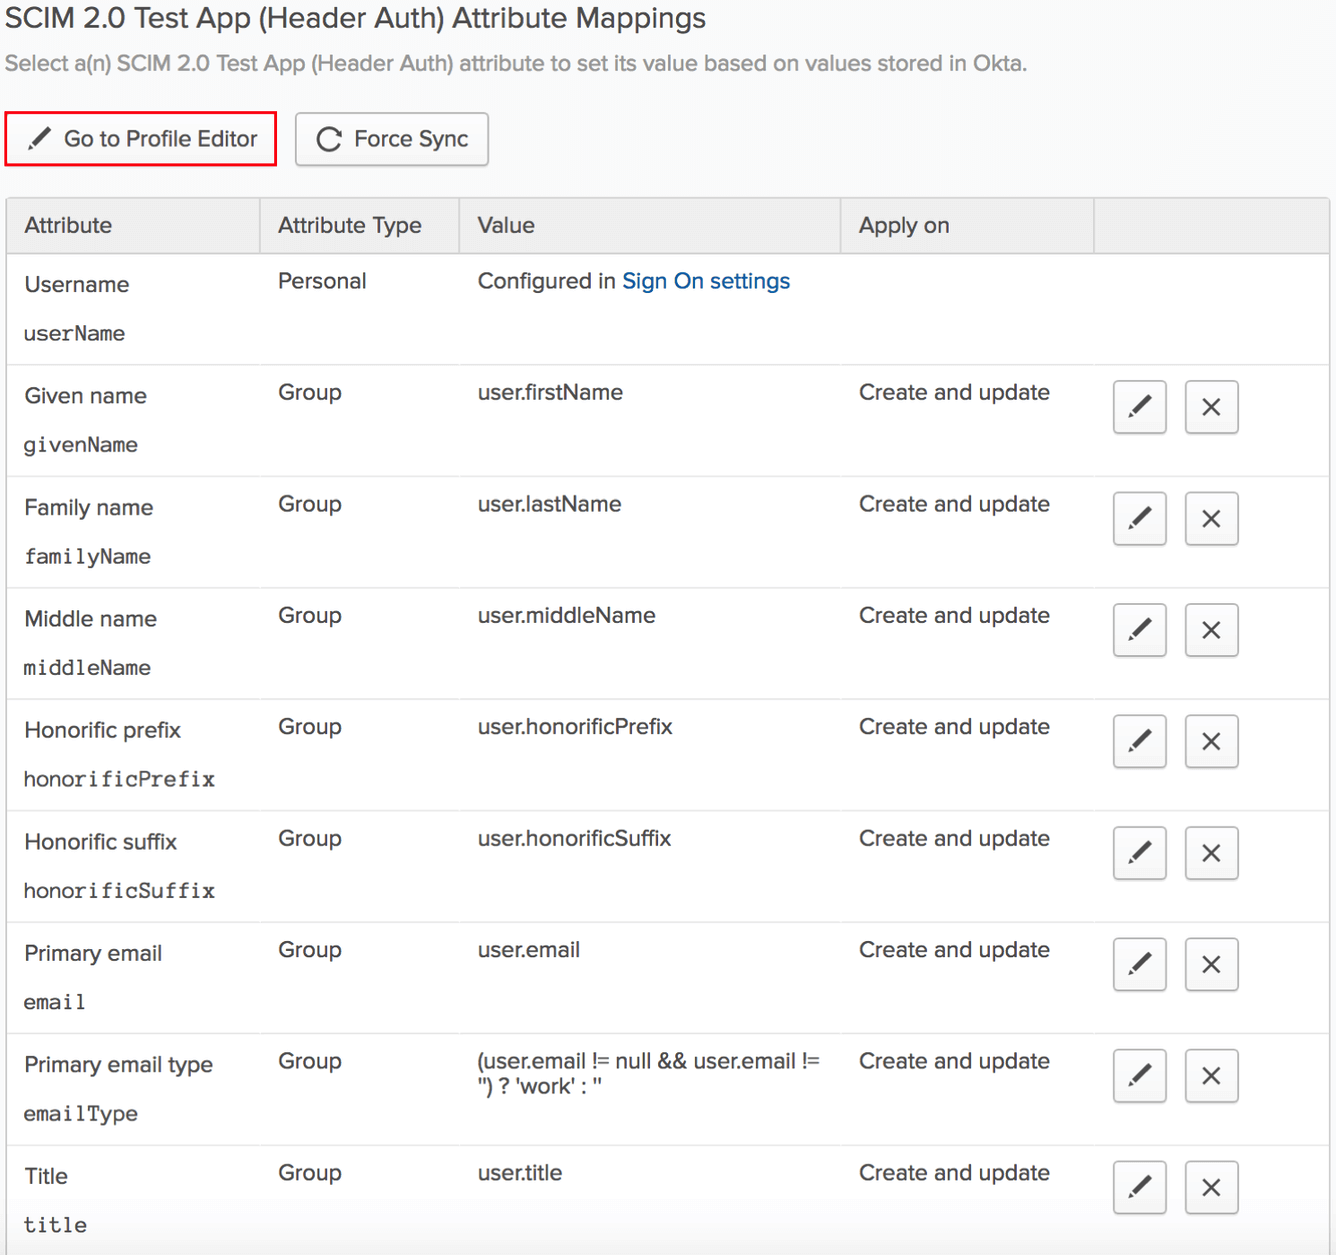
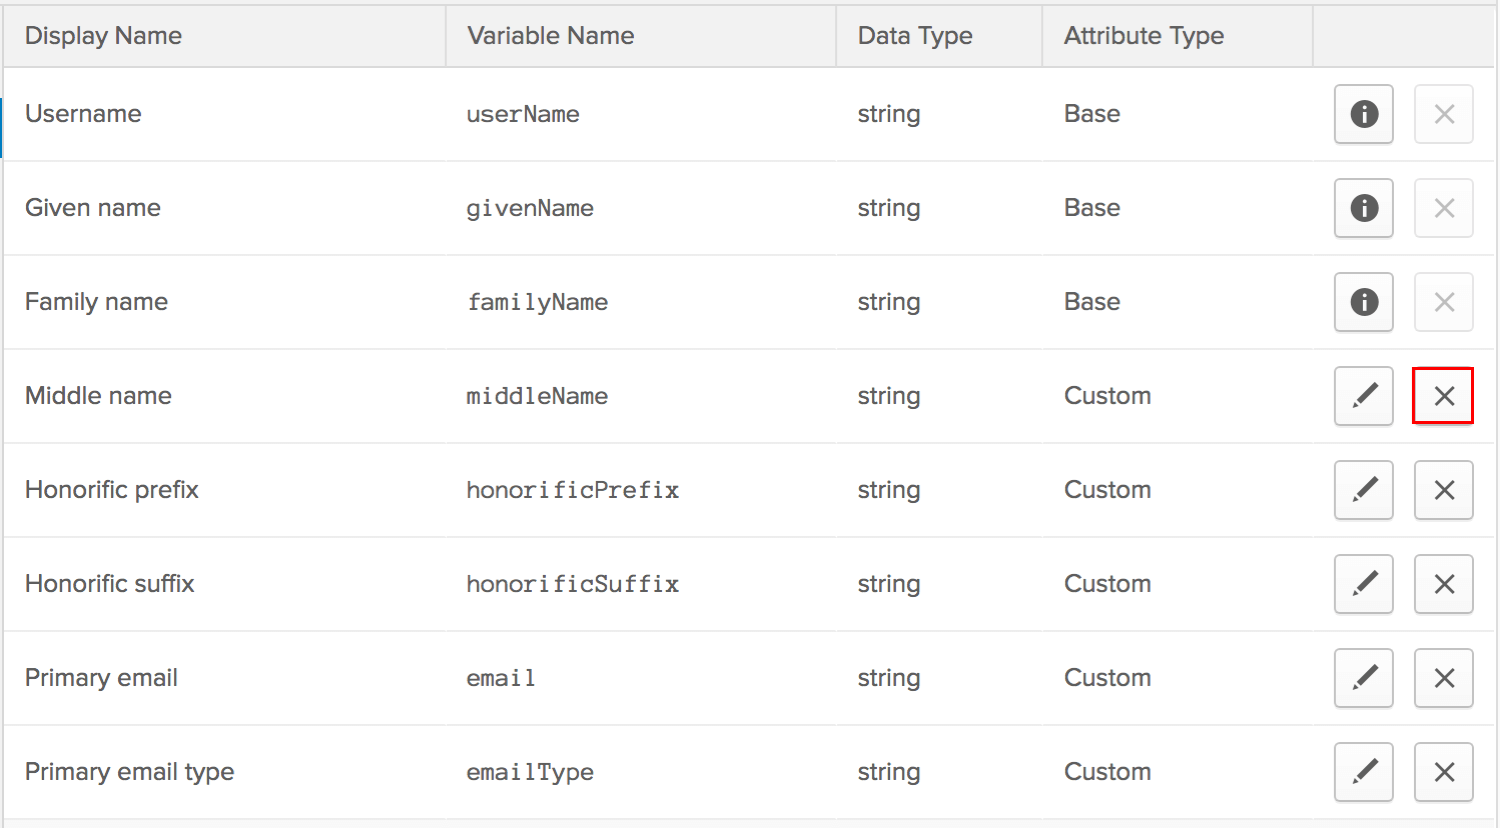
In the Profile Editor, scroll down to the attribute list.
Look for the attribute that you want to delete, and click X.
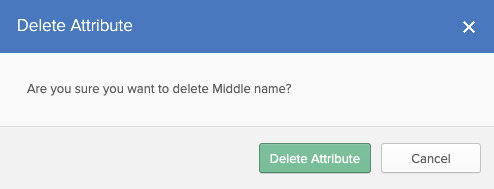
Click Delete Attribute to confirm that you want to remove the attribute.
Add attributes
From the Admin Console, open your SCIM integration.
Go to the Provisioning tab. Under the SETTINGS section, click To App.

Scroll to the Attribute Mappings section. Click Go to Profile Editor.

In the Profile Editor, click Add Attribute.
 Enter the information for the new attribute that you’re adding and then click Save. For example:
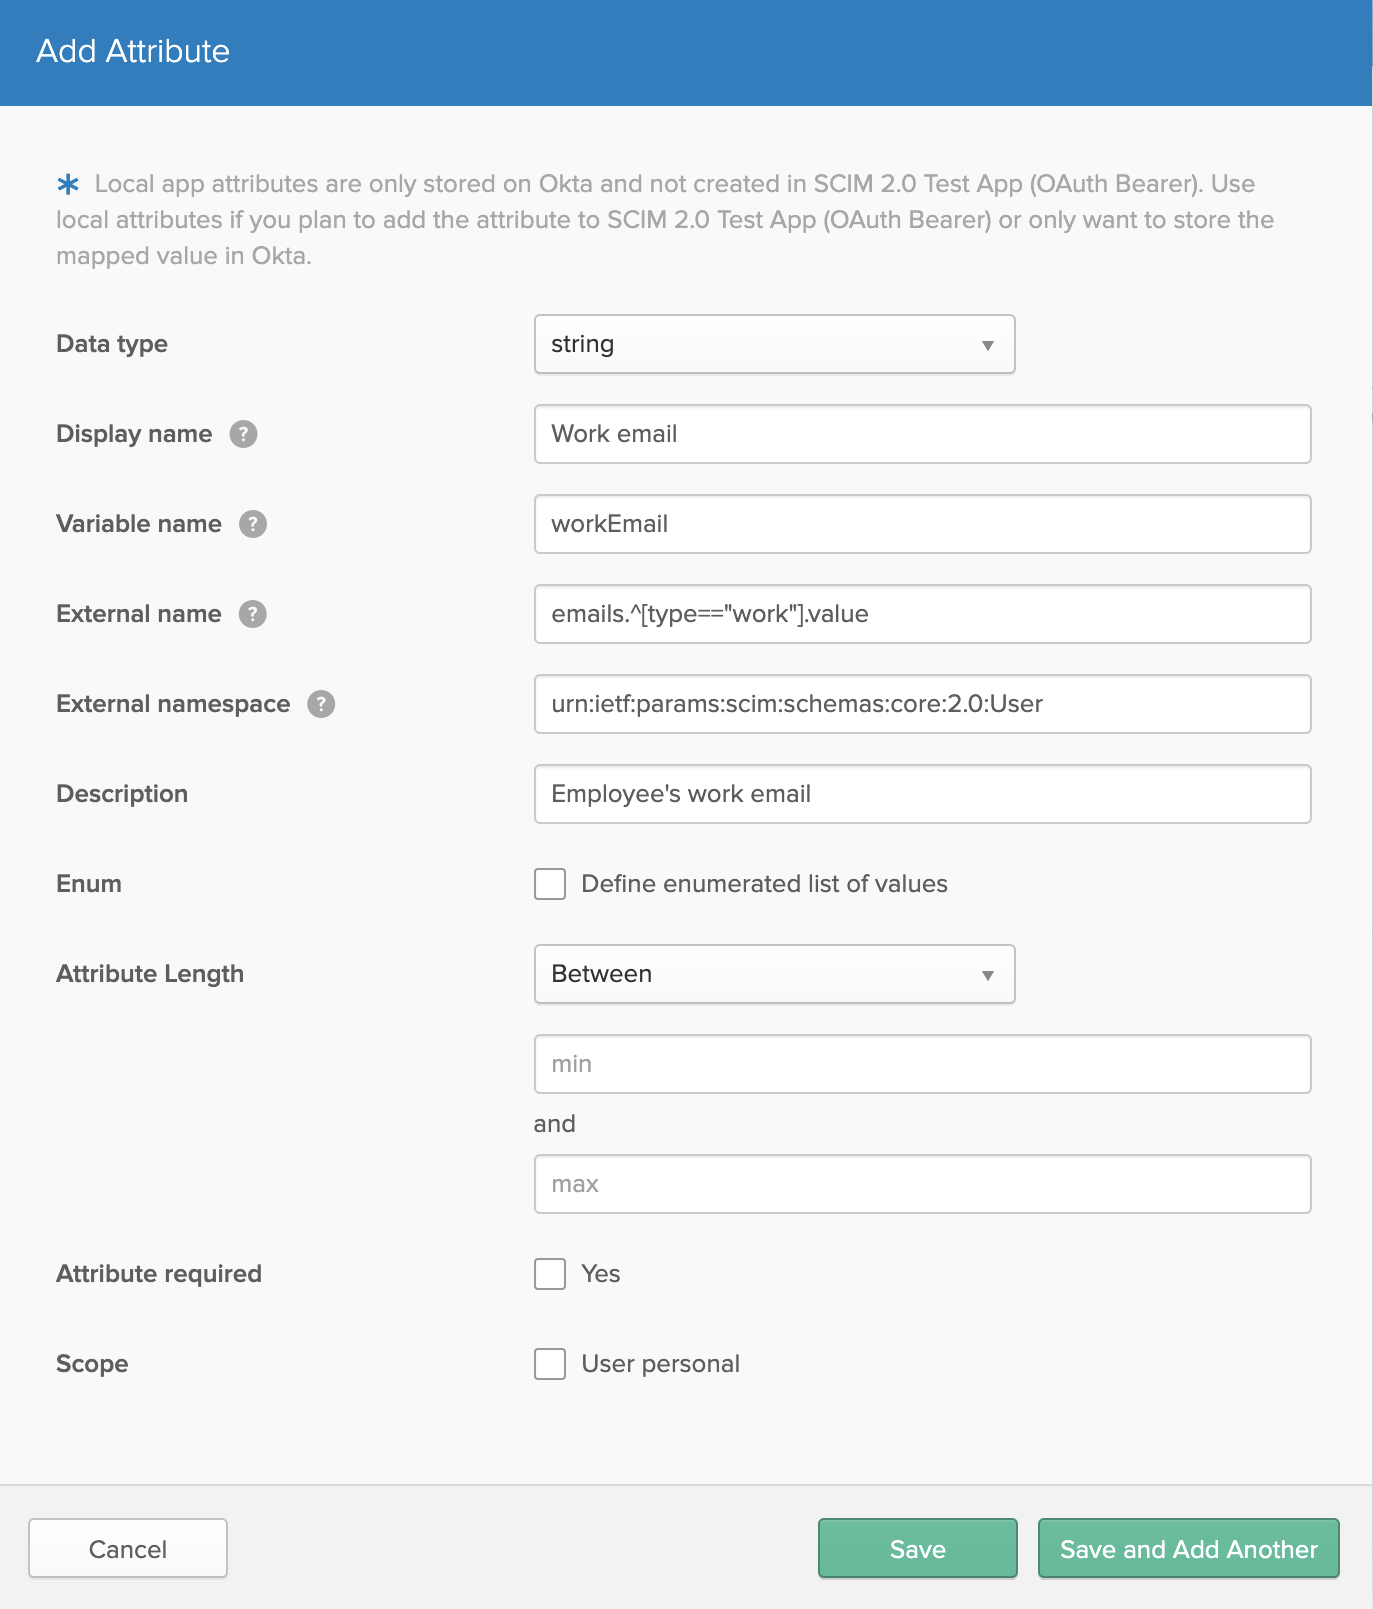
Note: The Scope property determines whether the attribute you are adding can be assigned at a group level or just per user. If you would like your admins to be able to assign a value for this attribute at a group level, don't check the User personal checkbox.
After adding an attribute, you can add a mapping for that new attribute.
Map attributes
From the Admin Console, open your SCIM integration.
Go to the Provisioning tab. Under the SETTINGS section, click To App.

Scroll to the Attribute Mappings section. Look for the attribute that you want to update and click Edit.
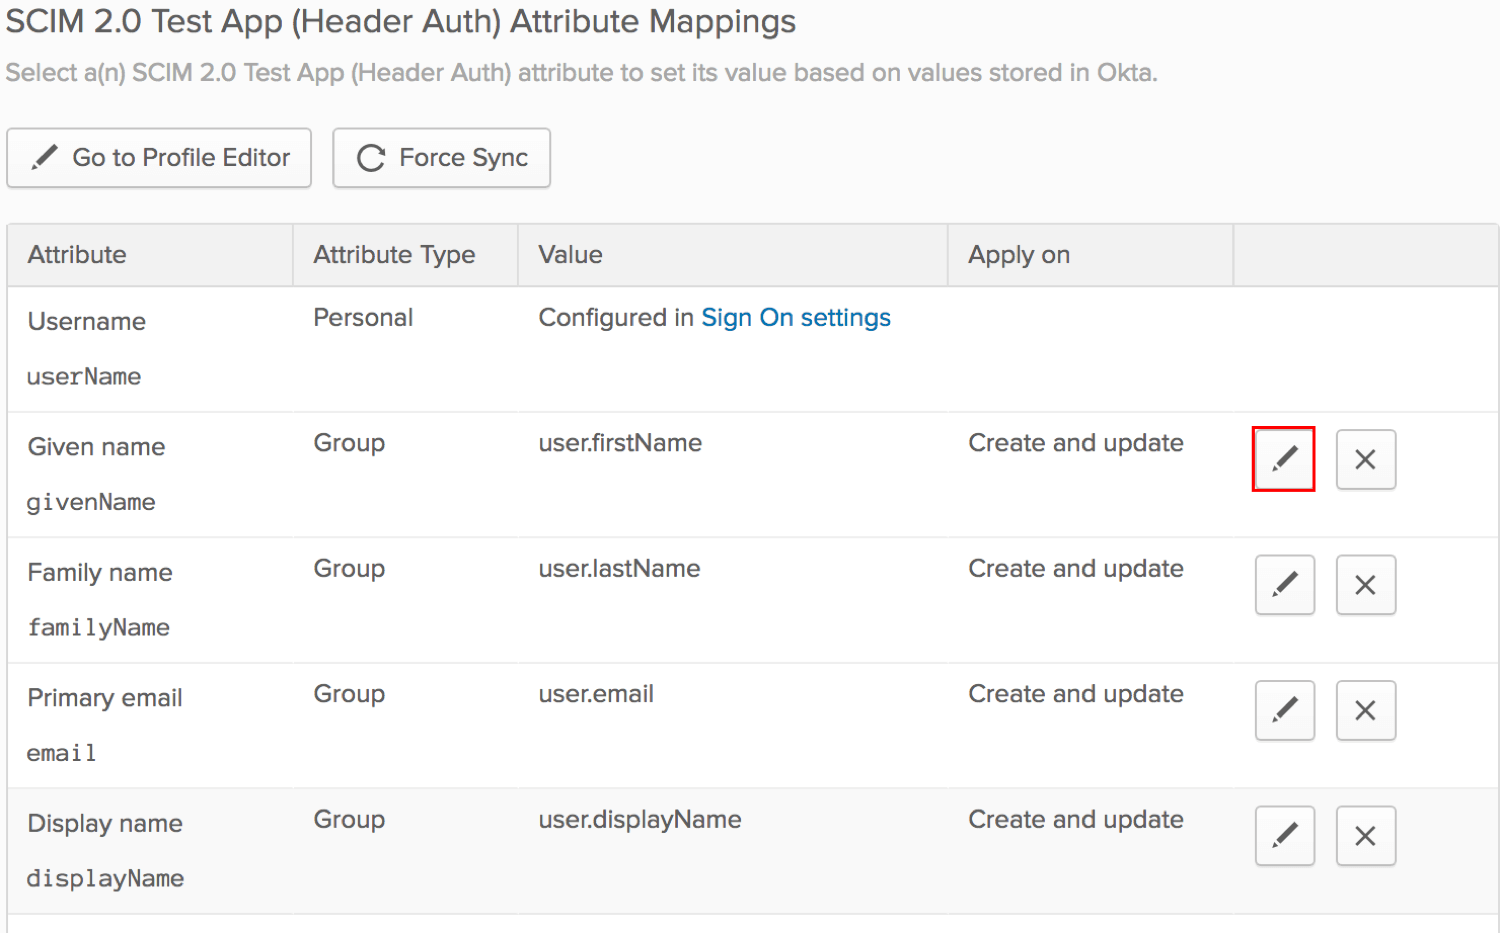
In the dialog that appears, there are two drop-down fields. In the first drop-down menu, select Map from Okta Profile. In the second drop-down menu, choose the Okta profile attribute that you would like to map the SCIM attribute from. Click Save.
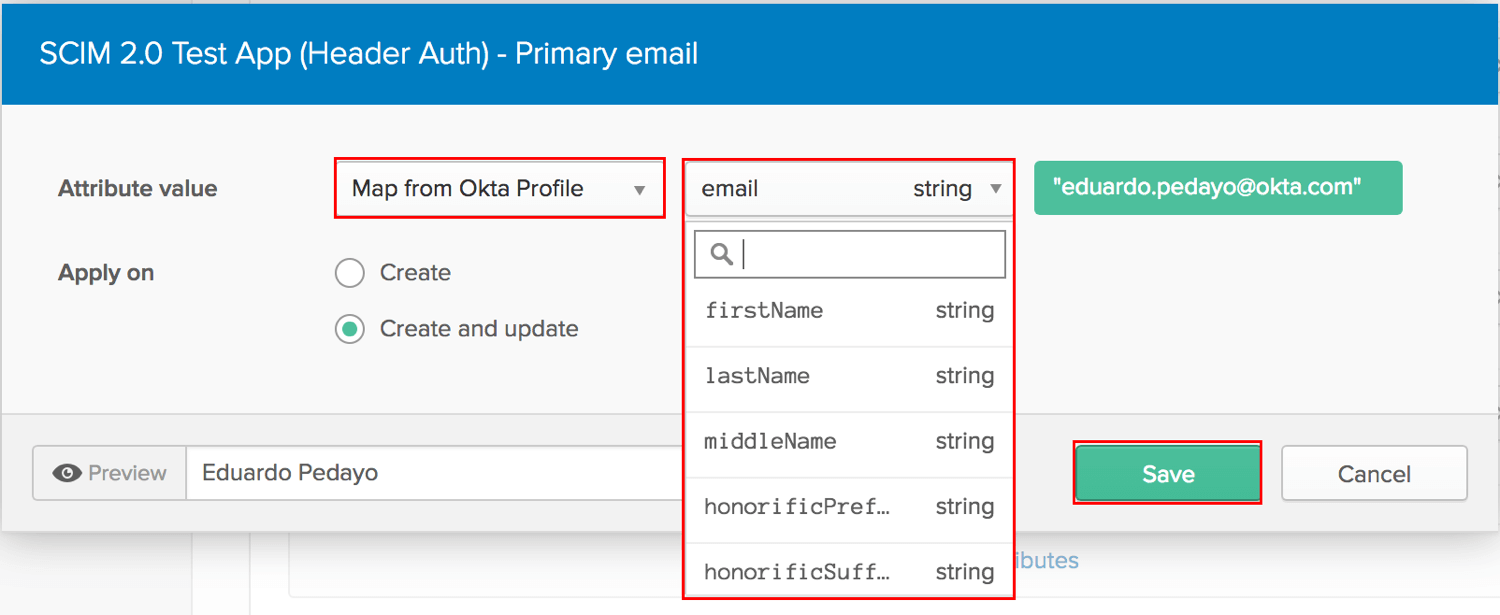
Repeat for all other SCIM attributes where you would like to modify the mapping (from Okta to your application).
After updating the mappings from Okta to your application, click To Okta under the settings section.

Scroll to the Attribute Mappings section. Look for the attribute that you want to update and click Edit.
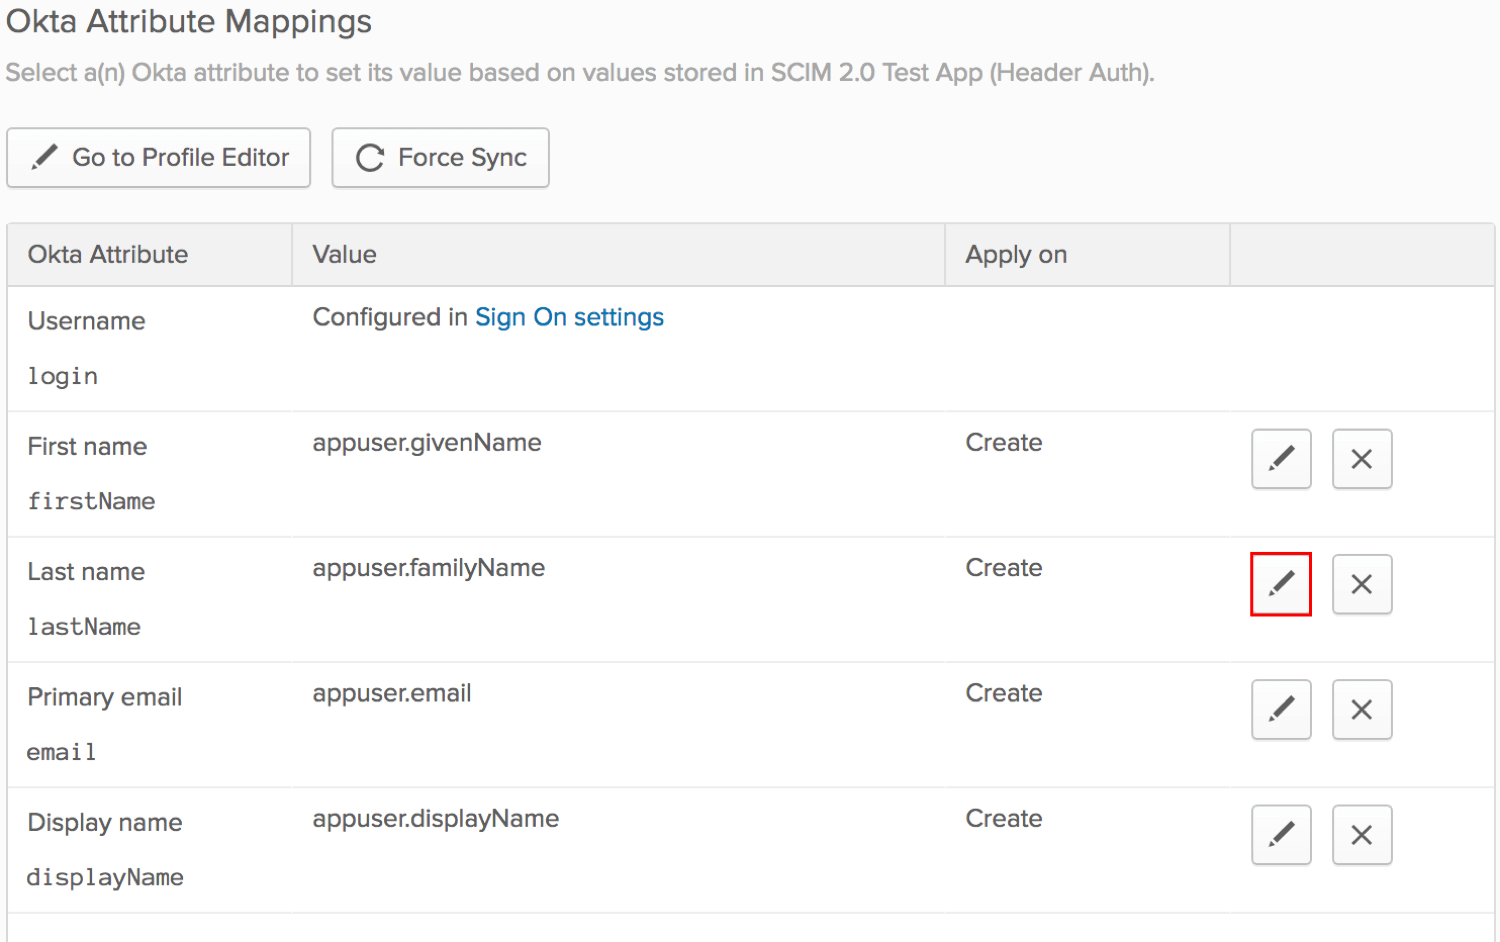
In the dialog that appears, there are two drop-down fields. In the first drop-down menu, select Map from {App Name} App Profile. In the second drop-down menu, choose the Okta profile attribute you would like to map the SCIM attribute to. Click Save.
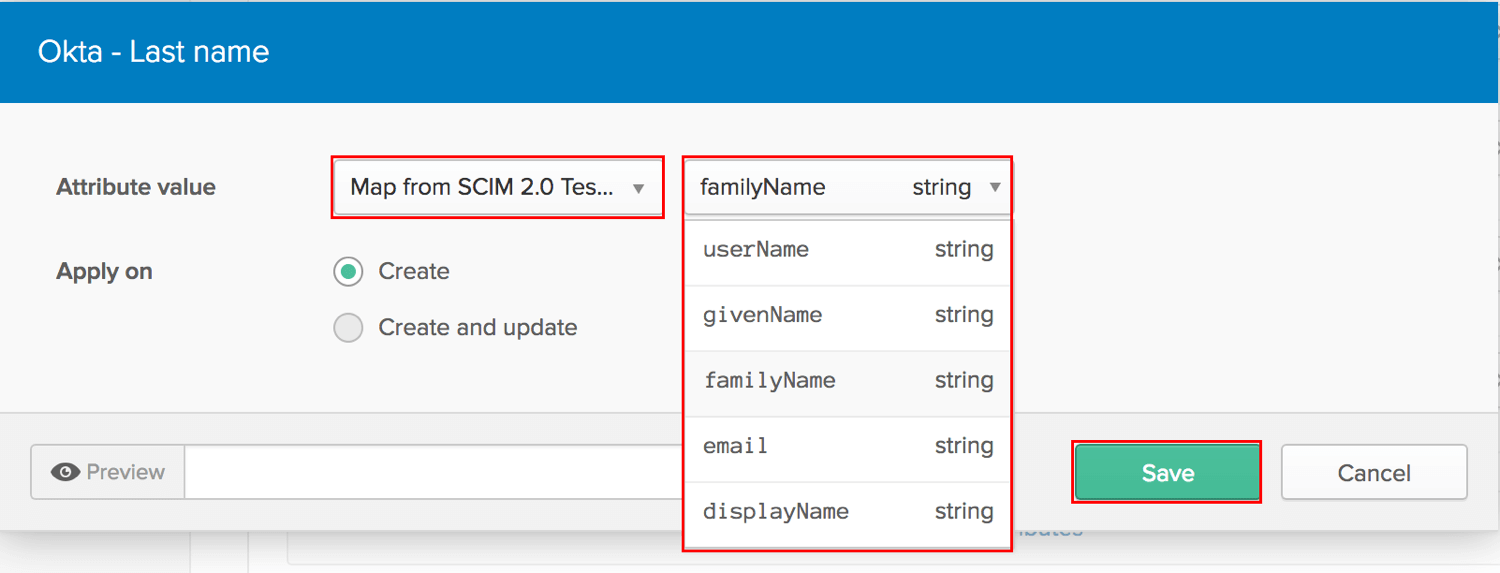
Repeat for all other SCIM attributes that you would like to modify the mapping (from your application to Okta).
Attribute support
You only want to include the attributes that you support in your current user schema. To ensure that the attributes are being sent properly to and from Okta:
When assigning a user to the SCIM integration that you added in your dev org, ensure that all expected attributes are populated for that user.
After the user is pushed to your SCIM application, check that all attributes are populated in your SCIM repository.
If your integration supports User Imports, try importing one user from your application. Check the imported user and ensure that the values for supported attributes are reflected in that imported user's account in Okta.
Go to your Admin Console.
Click Directory > People.
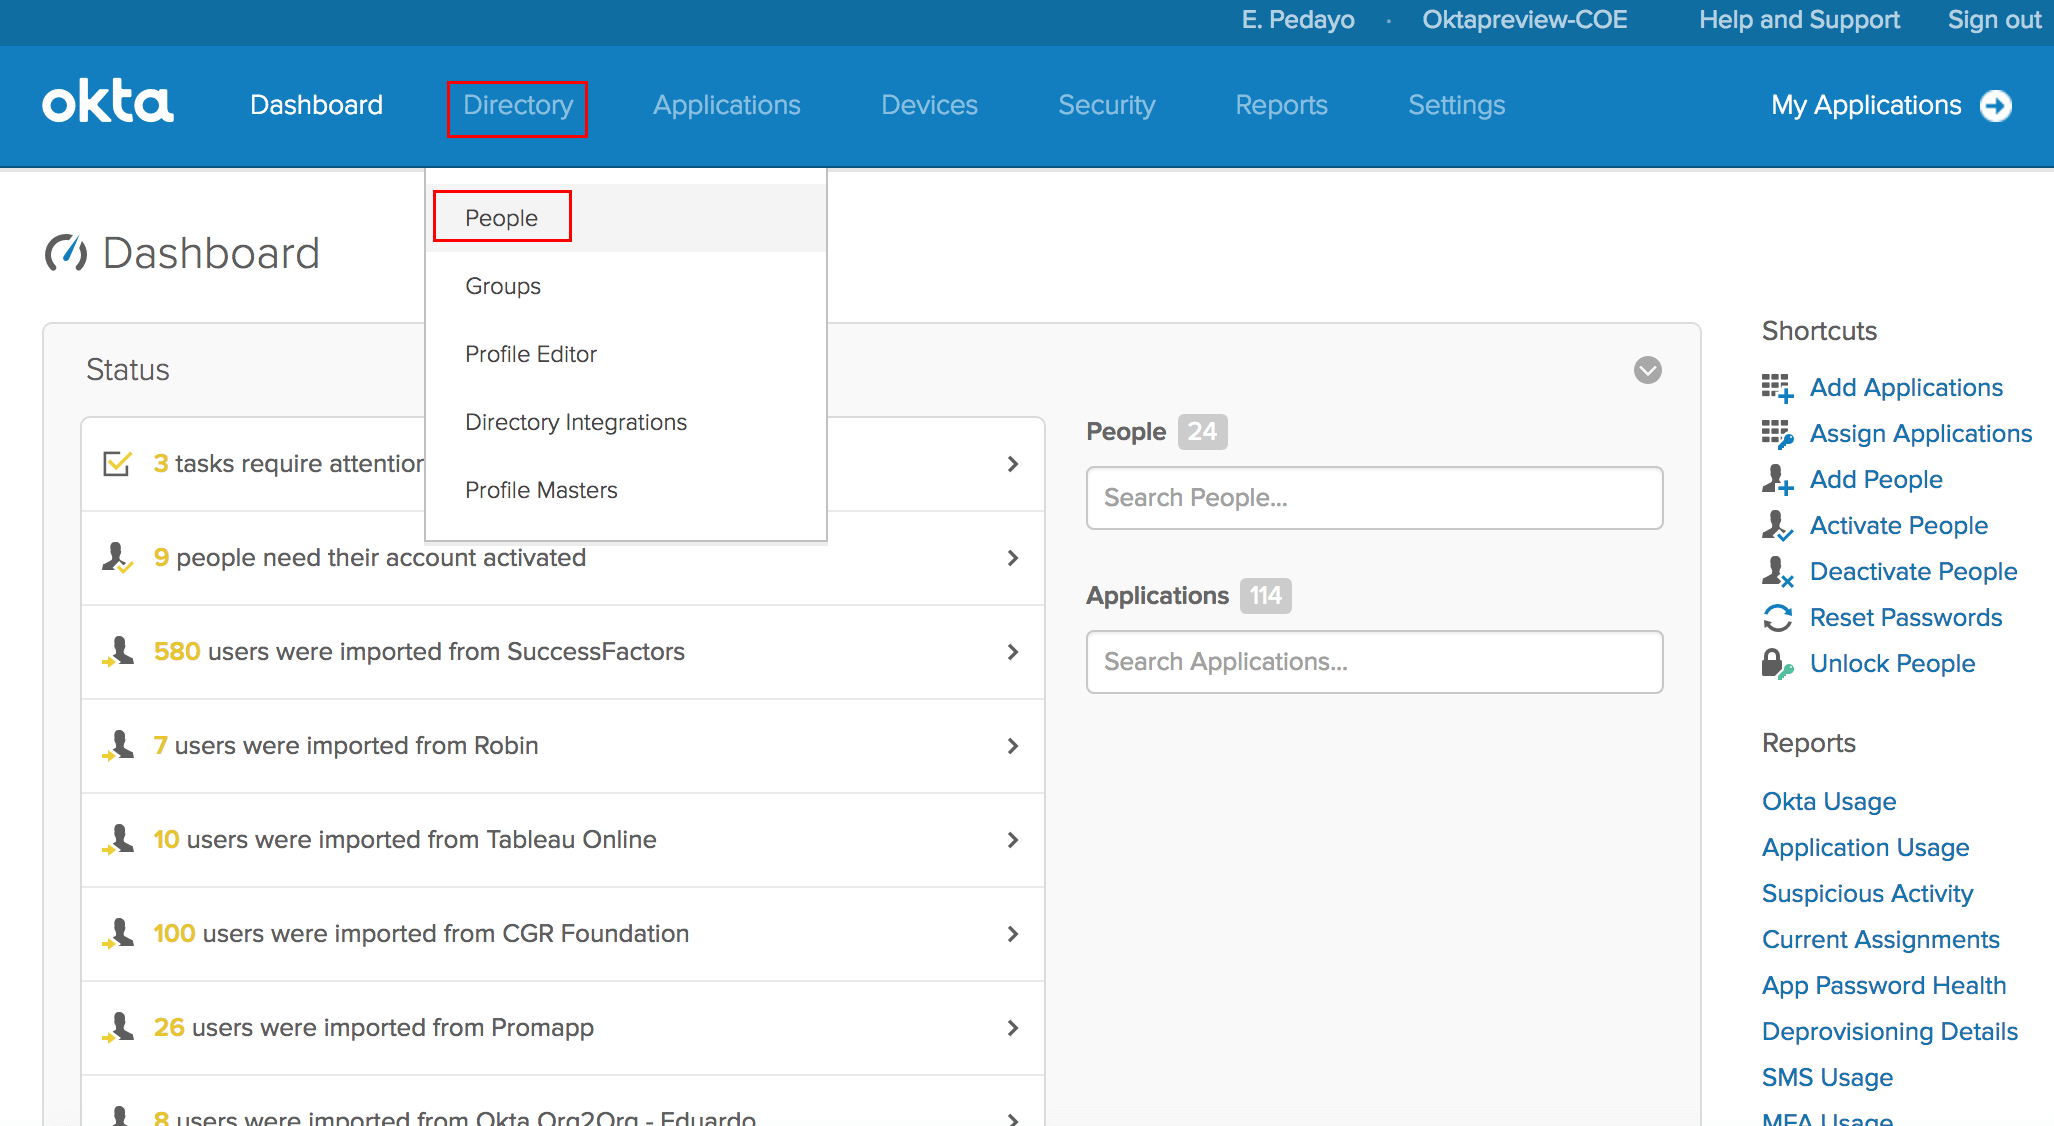
You should see the list of Okta users for your org. Find the user you just imported and click that user's name.
Once the user account is opened, click Profile. The Profile screen shows you that user's attributes. Check whether the values for the attributes you support were imported properly for this user.
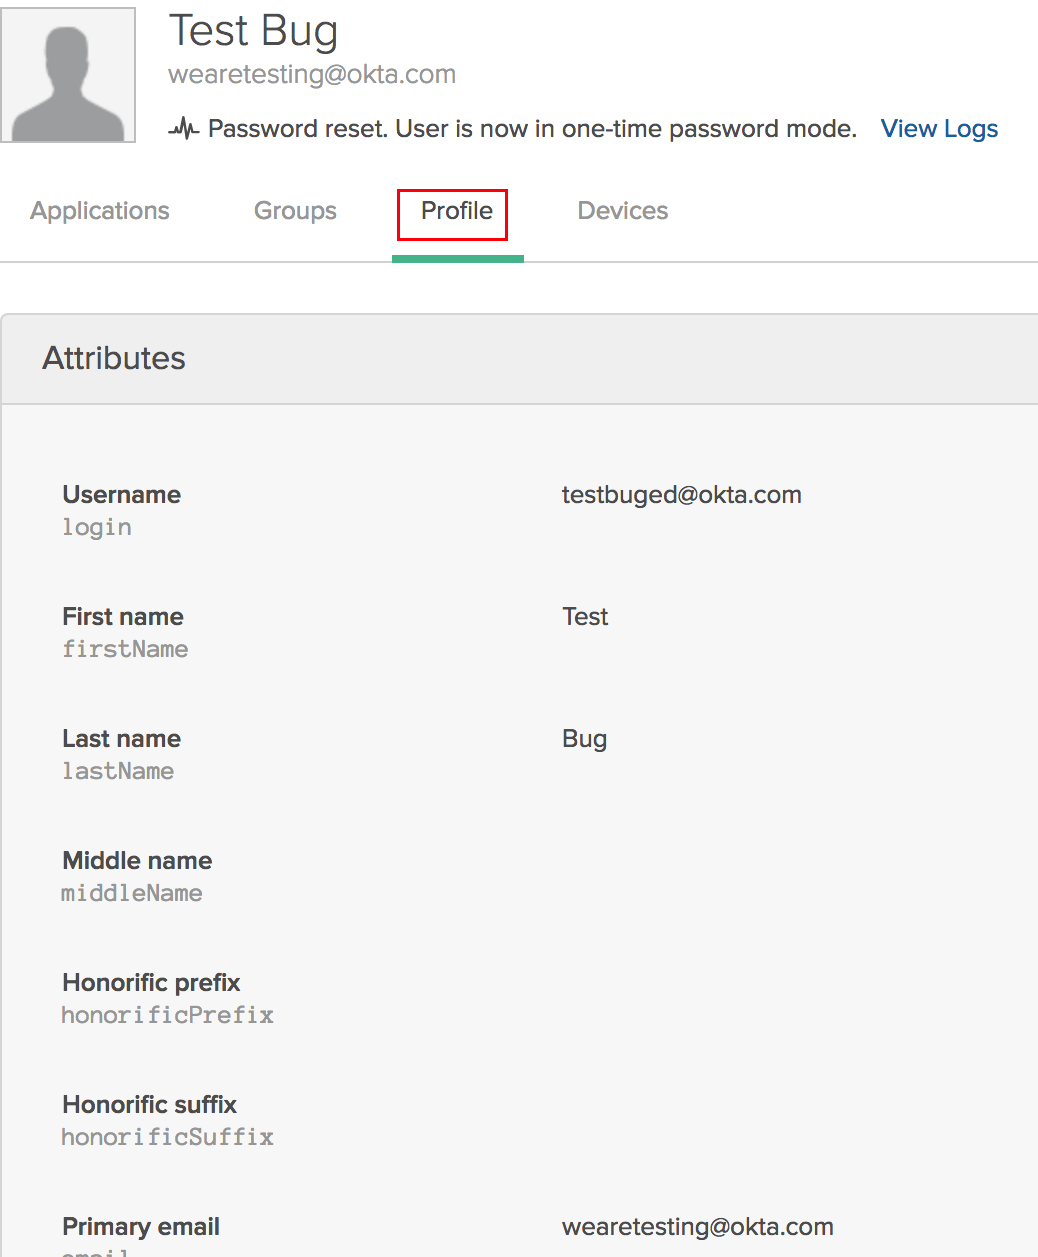
Your Profile Mapping template can always be updated in the future.
As mentioned in the adding and deleting attributes sections, you can set whether the attribute you are adding is set per user, or for both per user and group. This is set using the Scope attribute. If you want the attribute you are adding to be set strictly per user, you need to check the User personal checkbox for the Scope attribute. If you want to give admins the ability to set the attribute both per user or per group, leave this check box empty.